Company Admins and Associate Admins have access to the Company Settings page. To get to your Company Settings, click your profile icon in the top right corner of the screen and click Company Settings.
Then, use the tab list on the left side of the screen to navigate through the settings. If the list runs off the bottom of your screen, you can scroll down with your mouse wheel or the down arrow on your keyboard.
Click the name of a tab below to expand the information about that tab.
-ORGANIZATION INFO
 Organization Info: Adjust basic information about your company, your company logo, compliance logo, and other settings.
For more information, see: Updating your Organization Info
-ADMIN CONTROLS
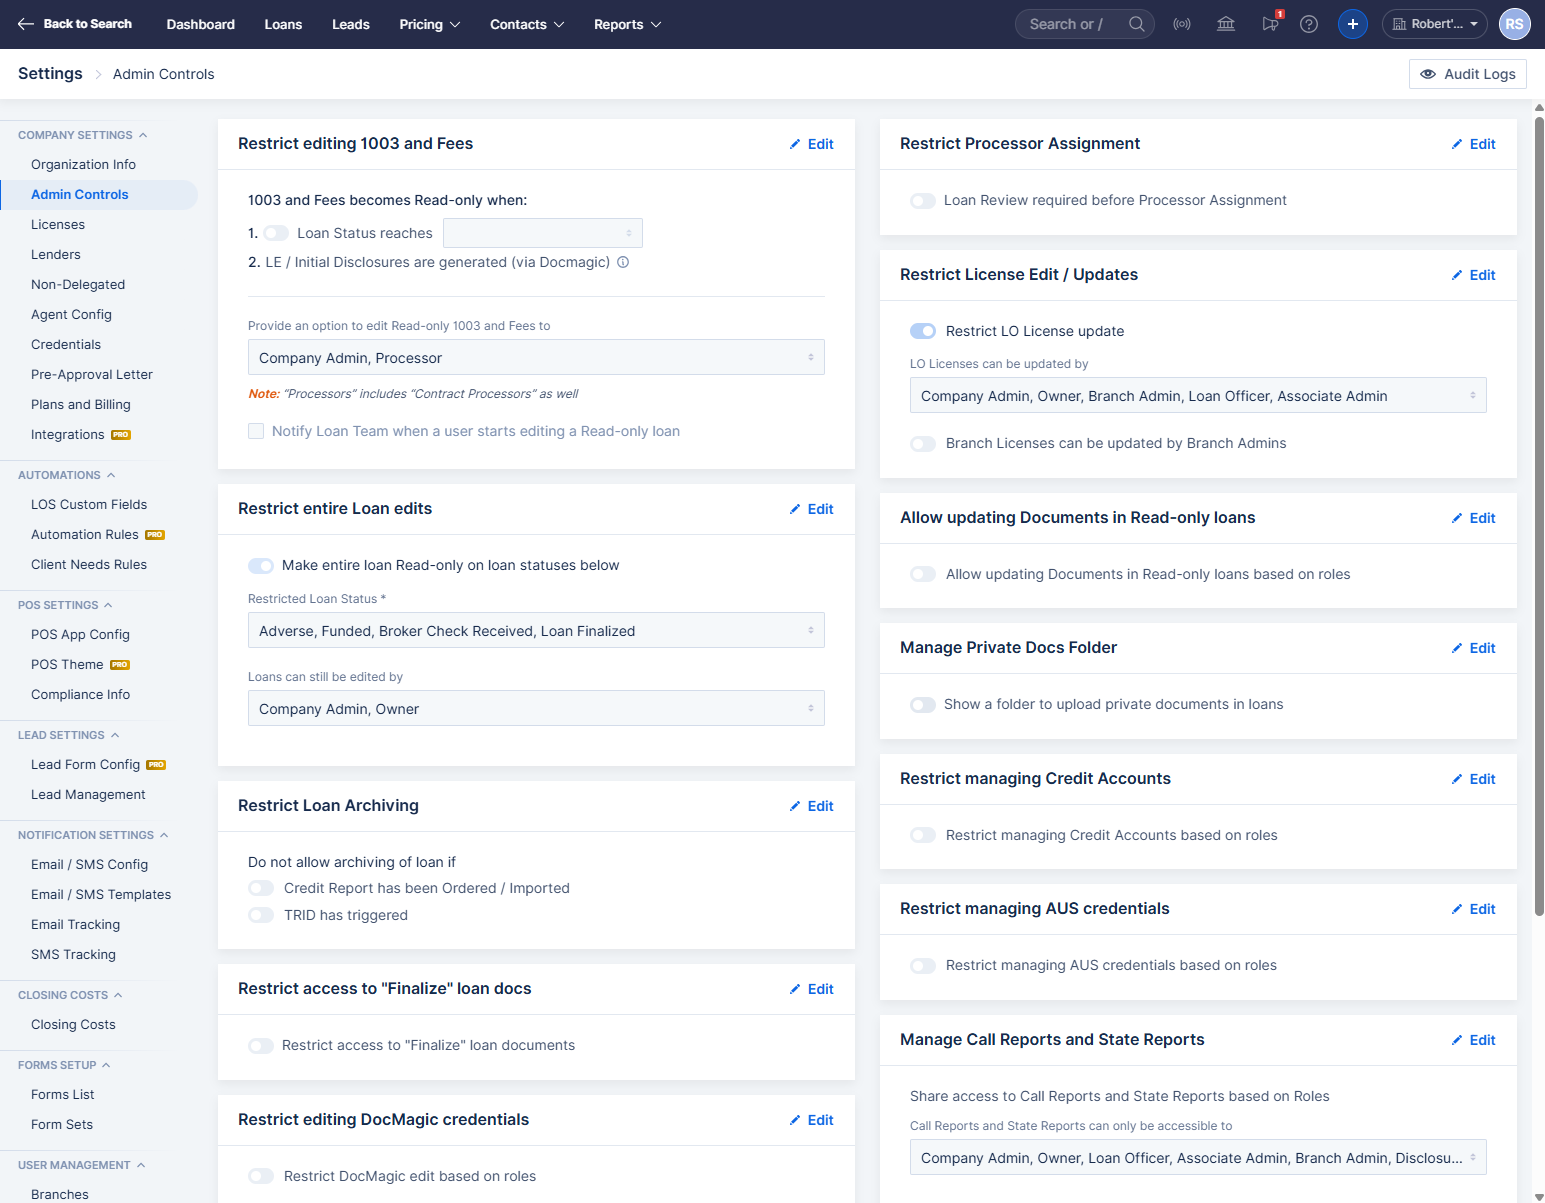 Admin Controls: Here you can restrict access to certain actions and settings based on certain conditions, including user roles.
For more information, see: Admin Controls
-LICENSES

Licenses: You must enter your company's state licenses here. If an applicant attempts to apply for a loan in a state you do not have a license entered for on the Company, Branch (if applicable), and User levels, they will be informed of this by the application form.
Note: In states without license requirements, you can enter a license with no number or any number.For more information, see: Entering Company State Licenses
-LENDERS

Lenders: System Lenders you are registered with will automatically populate here within 48 hours of you completing the registration in the lender's TPO portal. To add a new Manual Lender, click the + button in the Manual Lender section below the Approved and Marketplace lenders.
For each lender, you can edit the following;
- Compensations
- Fees
- Mortgagee Clause
- Mortgagee Contact
For more information, see: Adding Lenders
-NON-DELEGATED

Non-Delegated: Here you can configure your Non-Del pricing settings. This tab will only be available for companies on the Non-Del plan. Admins have the ability to set whether loan pricing will be defaulted to Non-Del or Broker pricing.
- Pricing Setup (includes Broker Override Rules)
- Margin Rules
- Mortgagee Clause
- Warehouse Bank Rules
For more information, see: Non-Del Settings and Configurations
-AGENT CONFIG

Agent Config: Here you can customize your Realtor login URL.
For more information, see: Inviting Agents to the Real Estate Agent Portal, Using the Real Estate Agent Portal
-CREDENTIALS

Credentials: Here you can enter company credentials for your Credit Vendors, DO, and LPA. These credentials will be available for use by the users in your company. You can also enter your Doc Magic credentials here if you are on a Non-Del subscription.
For more information, see: Entering Credit and AUS Credentials for Company Use
-PRE-APPROVAL LETTER

Pre-Approval Letter: Here you can edit your company's default Pre-Approval Letter template. This can also be customized at the Branch and User levels. Customizations at the User level will take precedence over those at the Branch level, and Branch level will take precedence over the Company default template.
For more information, see: Customizing your Pre-Approval Letter
-PLANS AND BILLING

Plans and Billing: Here you can purchase or adjust your company's subscription plan, as well as your payment method, and view your payment history and download receipts.
For more information, see: Purchasing Seats at the Company Level
-INTEGRATIONS

PRO/NON-DEL ONLY - Integrations: If you have upgraded to the Broker Pro subscription, here you will find the credentials you need to enter into your Zapier account to integrate ARIVE.
For more information, see: Integrating ARIVE with your Zapier Account (CRM Integration)
-LOS CUSTOM FIELDS

LOS Custom Fields: Here you can add custom fields to the LOS.
-AUTOMATION RULES

PRO/NON-DEL ONLY - Automation Rules: Here you can configure automations to trigger actions or stop progression when defined conditions are met.
For more information, see: Automation Rules
-CLIENT NEEDS RULES

Client Needs Rules: Here you can edit your company's automatic Client Needs, and create new ones. This can also be customized for individual branches under Branch Settings or by individual LOs under their User Settings. Customizations at the User level will take precedence over Branch level, and Branch level will take precedence over Company level.
For more information, see: Customizing Client Needs Rules or Commonly Used Client Needs Rules
-POS APP CONFIG

POS App Config: Here you have access to the following POS settings:
- Customize which information items are collected in your Purchase and Refinance online applications.
- Settings affected by when the borrower submits the loan application.
- Add custom questions that the borrower is asked during their application.
- Access or customize your company's POS/Application URL.
- Enable or disable the Spanish POS option.
For more information, see: POS Application Configuration
-POS THEME

PRO/NON-DEL ONLY - POS Theme: Here ARIVE Pro users have access to customize their another part of their borrower's POS experience, including:
- Create Account Page
- Sign In Page
- Thank You Message (shown in a popup after App Submission)
For more information, see: POS Theme Customization
-COMPLIANCE INFO

Compliance Info: Here admins can customize and provide their company's compliance related information, including:
- Privacy Policy
- Terms of Use
- Disclosures
- Credit Consent
- eConsent
- ADA Disclaimer
- Compliance Logo
For more information, see: POS Compliance Info/Privacy Policy/Etc.
-LEAD FORM CONFIG

PRO/NON-DEL ONLY - Lead Form Config: Here you can customize which questions leads are prompted to answer, as well as who is designated as the Default Lead Form Assignee (for borrower-created leads from the company's public lead form URL).
For more information, see: Lead Capture
-LEAD MANAGEMENT

Lead Management: Here admins can create and manage lead source options and lead tags that they can attach to their leads for tracking purposes.
-EMAIL/SMS CONFIG

Email / SMS Config: Here you can connect your company's SMS Account (via Twilio) and/or your company's Email Account via Sendgrid or SMTP. Both the SMS and Email Account sections provide "How-To" information regarding that connection.
Please note that we strongly recommend all users configure their own individual email integrations in their User Settings > Email / SMS Config, whether or not this is also configured at the Company level.
For more information, see: Connect Your Email Account or Integrating ARIVE with Your Twilio account (SMS Integration)
-EMAIL/SMS TEMPLATES

Email/SMS Templates: Here you can view and edit all of the various templates used for system-generated Emails and SMS messages, as well as who they will be sent to.
For more information, see: Customize Email & SMS Templates
-EMAIL TRACKING

Email Tracking: Here you can see all of the emails that have been sent from your company via the ARIVE platform. You can click on one to open up that email. You can see who the email sender was, as well as the recipients, the subject, and the status and date/time stamp. You can also search through the emails using the search bar in the top right corner.
For more information, see: Email Tracking
-SMS TRACKING

SMS Tracking: Here you can see all of the SMS messages that have been sent from your company via the ARIVE platform. You can click on one to open up it up. You can see who the SMS sender was, as well as the recipients, and the status and date/time stamp. You can also utilize the "Period" and "Status" filters in the top right.
For more information, see: SMS Tracking
-CLOSING COSTS

Closing Costs: Here admins can adjust their company's default closing costs and add, edit or remove fees. They have the ability to set custom closing cost combinations for each of their lenders that will auto-populate in that loan's Review Fees once the lender has been assigned on the file.
For more information, see: Managing Default Closing Costs (Fees)
-FORMS LIST

Forms List: Here you will see your list of available forms. Many forms are included with ARIVE by default, and you can add forms to this list by uploading and configuring them. These can be generated in any loan file via the Disclosure Forms > ARIVE Forms section of the loan file.
For more information, see: Creating and Using Custom Forms
-FORM SETS

Document Sets: Here you can create document sets to streamline the process of sending out multiple documents at once.
For more information, see: Creating and Using Form / Document Sets
-BRANCHES

Branches: Here you can see the branches that exist within your company account. You can edit branch info via the "..." action menu button to the right of a branch.
To create a branch, open a support ticket or send an email to support@arive.com with your request and include the following information:
- The name of the new Branch
- The NMLS number of the new branch, if it has it's own NMLS number (leave blank to use the main company's NMLS number)
- The state where the new Branch is located
- Whether the Branch's users should be part of the main Company Subscription, or if the Branch should have it's own subscription, which can be purchased by a Branch Admin (regardless of this choice, users in the branch may still be set to Self Paid if you choose)
For more information, see: Configuring Branches, and Branch Settings
-USERS

Users: Here you can see and manage all of the users in your company. You will not see users who are in branches of the company, unless you switch the dropdown in the top right corner (just left of your profile icon) to "All". You can filter your user list by using the Filter button in the top right corner (just below your profile icon).
For more information, see: Adding Users to ARIVE, Setting Users as Self Paid or Company Paid
-ROLES

Roles: Here you can see all of the different types of user roles that someone in your organization has been assigned to. If you click on any given role name, you can see all of the users that possess that role and also see their emails, as well as the dates of when they were created at and last updated.
For more information, see: Managing Users, User Roles, etc.