Pricing Non-Del loans in ARIVE will show as borrower paid comp. When you price a loan above par pricing, that overage defaults to a lender credit given to the borrower. Turning the Convert Lender Credit to Company Margin toggle on will automatically create a pricing adjustment to take that credit and add it to your company's revenue. Turning the toggle on to allow Loan Officers to Override Industy Channel will give the users an option to select Broker or Non-Del as the industry channel in the Product & Pricing Engine which would ignore the defaults and override rules created in the Pricing Setup screen.


Mortgagee Clause: The mortgagee clause tab is where you will enter the loss payee or your company. This mortgagee clause will be used whenever the loan file is Non-Del. Brokered loans will still use the lender's mortgagee.

Warehouse Bank Rules: Any warehouse banks your company uses can be added tot he "Warehouse Bank Rules" tab. You can even create rules for when that warehouse bank would be used.
Warehouse banks can also be added manually in the "Funding & Revenue" screen of your loan files. So creating rules in the non-del settings is not necessarily required.


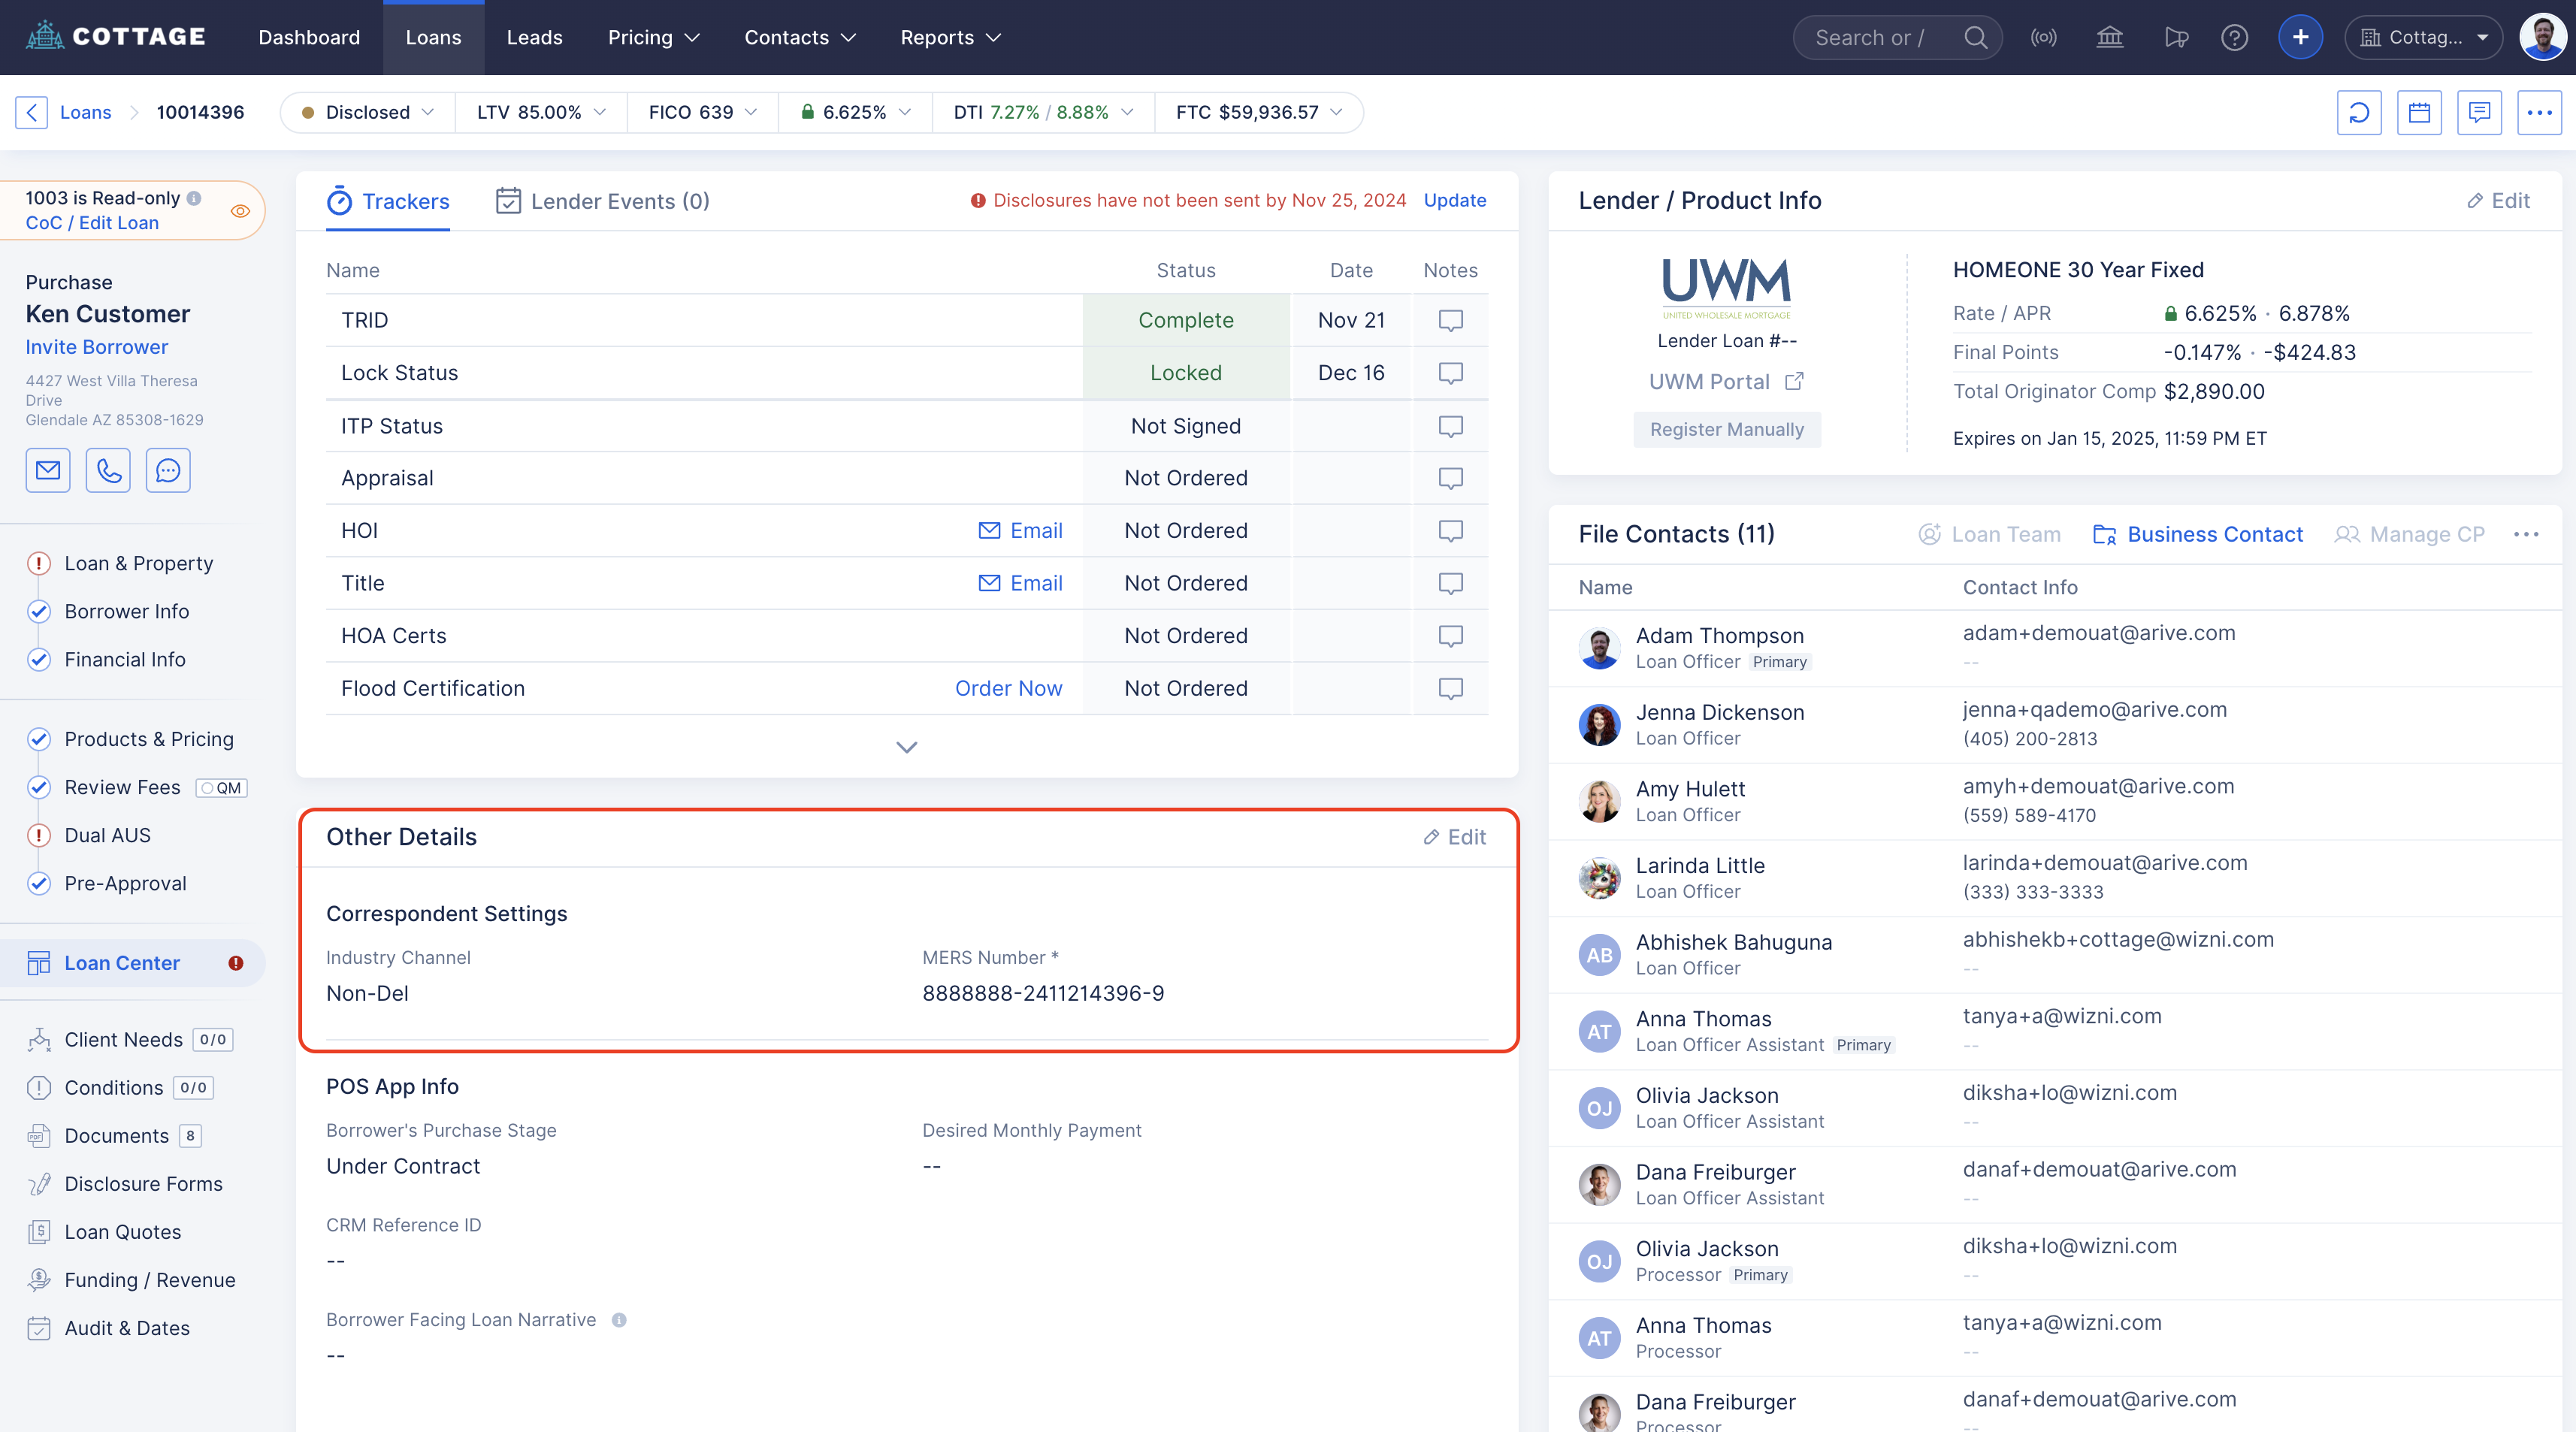
The Correspondent Settings in your loan file will also allow you to switch industry channels (if your company admin permit this) and override the MER Number if you already obtained the MIN outside of ARIVE.


To generate disclosures using the DocMagic integration, you will go to the "Disclosure forms" tab on the left side menu in your loan file, and then click "Disclosures". You will then see the "Generate Disclosures" box. Check out this support article for more info Non-Del - Generating Loan Estimates and Initial Disclosures Via DocMagic in Arive

Self Paid Users Upgrading to Non-Del: The upgrade to non-del for a company is made by one of our support agents. When a company upgrades from one of the broker plans to ARIVE's Non-Del subscription there is an option to automatically upgrade all self paid users to Non-Del.

If this toggle is turned off then all Self Paid users will need to upgrade their accounts by going to
User Settings > Plans & Billing > Change Plan

Select either "Non-Del Monthly" or "Non-Del Annual". Then click "Select Plan" then "Confirm Update" and advance through the prompts to process payment for the upgrade

Remember that as a Non-Del subscriber, you also have access to all the features of our Broker Pro Plan.
Also see: Non-Del Features