Upload a spreadsheet of borrower contacts into ARIVE without errors

Follow these exact steps. Skipping or changing anything will cause the upload to fail.


Step 1: Download the Sample File from ARIVE


This template shows the exact spreadsheet format ARIVE requires.


  1. Choose Contacts in the top navigation bar.
    ARIVE navigation bar showing Dashboard, Tasks, Loans, Leads, Pricing, Contacts, and Reports, with the Contacts tab outlined in red to indicate where to click.

  2. Select Borrowers from the dropdown menu.
    ARIVE navigation bar with the Contacts tab expanded. Borrowers is highlighted in red under the dropdown options, indicating where to click to access borrower contact records.

  3. Go to the More button (...) in the top-right corner.
    ARIVE Borrowers page with the More button (three dots) in the top-right corner highlighted in red, showing where to click to access import options.

  4. Click Import.
    ARIVE Borrower Contacts screen with the More button (three dots) in the top-right corner highlighted, and Import Contacts option shown.

  5. Select Download Sample File at the bottom-left corner of the pop-up window.
    Import Contacts pop-up window with Click to Upload area and the Download Sample File button highlighted at the bottom-left corner.


Step 2: Fill Out Your File

  1. Open the BorrowerSample.xlsx file you downloaded.

  2. Type your borrower contacts into the rows under the headers.

    Header & Required Info Example:
    Spreadsheet header row showing columns A through K with labels: First Name, Middle Name, Last Name, Date Of Birth (MM/DD/YYYY), Email, Street Address, Unit/Apt, City, County Name, Zip Code, State. The second row contains sample data: Ron, TinTin, ron@tintin.com.

    Important Rules (Follow Exactly):

  • Do not delete or edit the header row (top row).

  • Do not move, rename, or reorder columns.

  • Only paste leads below the header row. Never paste over the header row.

  • You can only upload up to 1,000 contacts per file (split your list if needed).

  • Email must follow the format: name@domain.com

  • Phone Number must be only numbers (no dashes, parentheses, or spaces).

  • The file must be saved as .xlsx.


    Required Info for Each Borrower Contact:

    If any required field is missing or formatted wrong, the upload will have errors.

  • First Name

  • Last Name

  • Email (Cannot be blank must use the format name@domain.com)


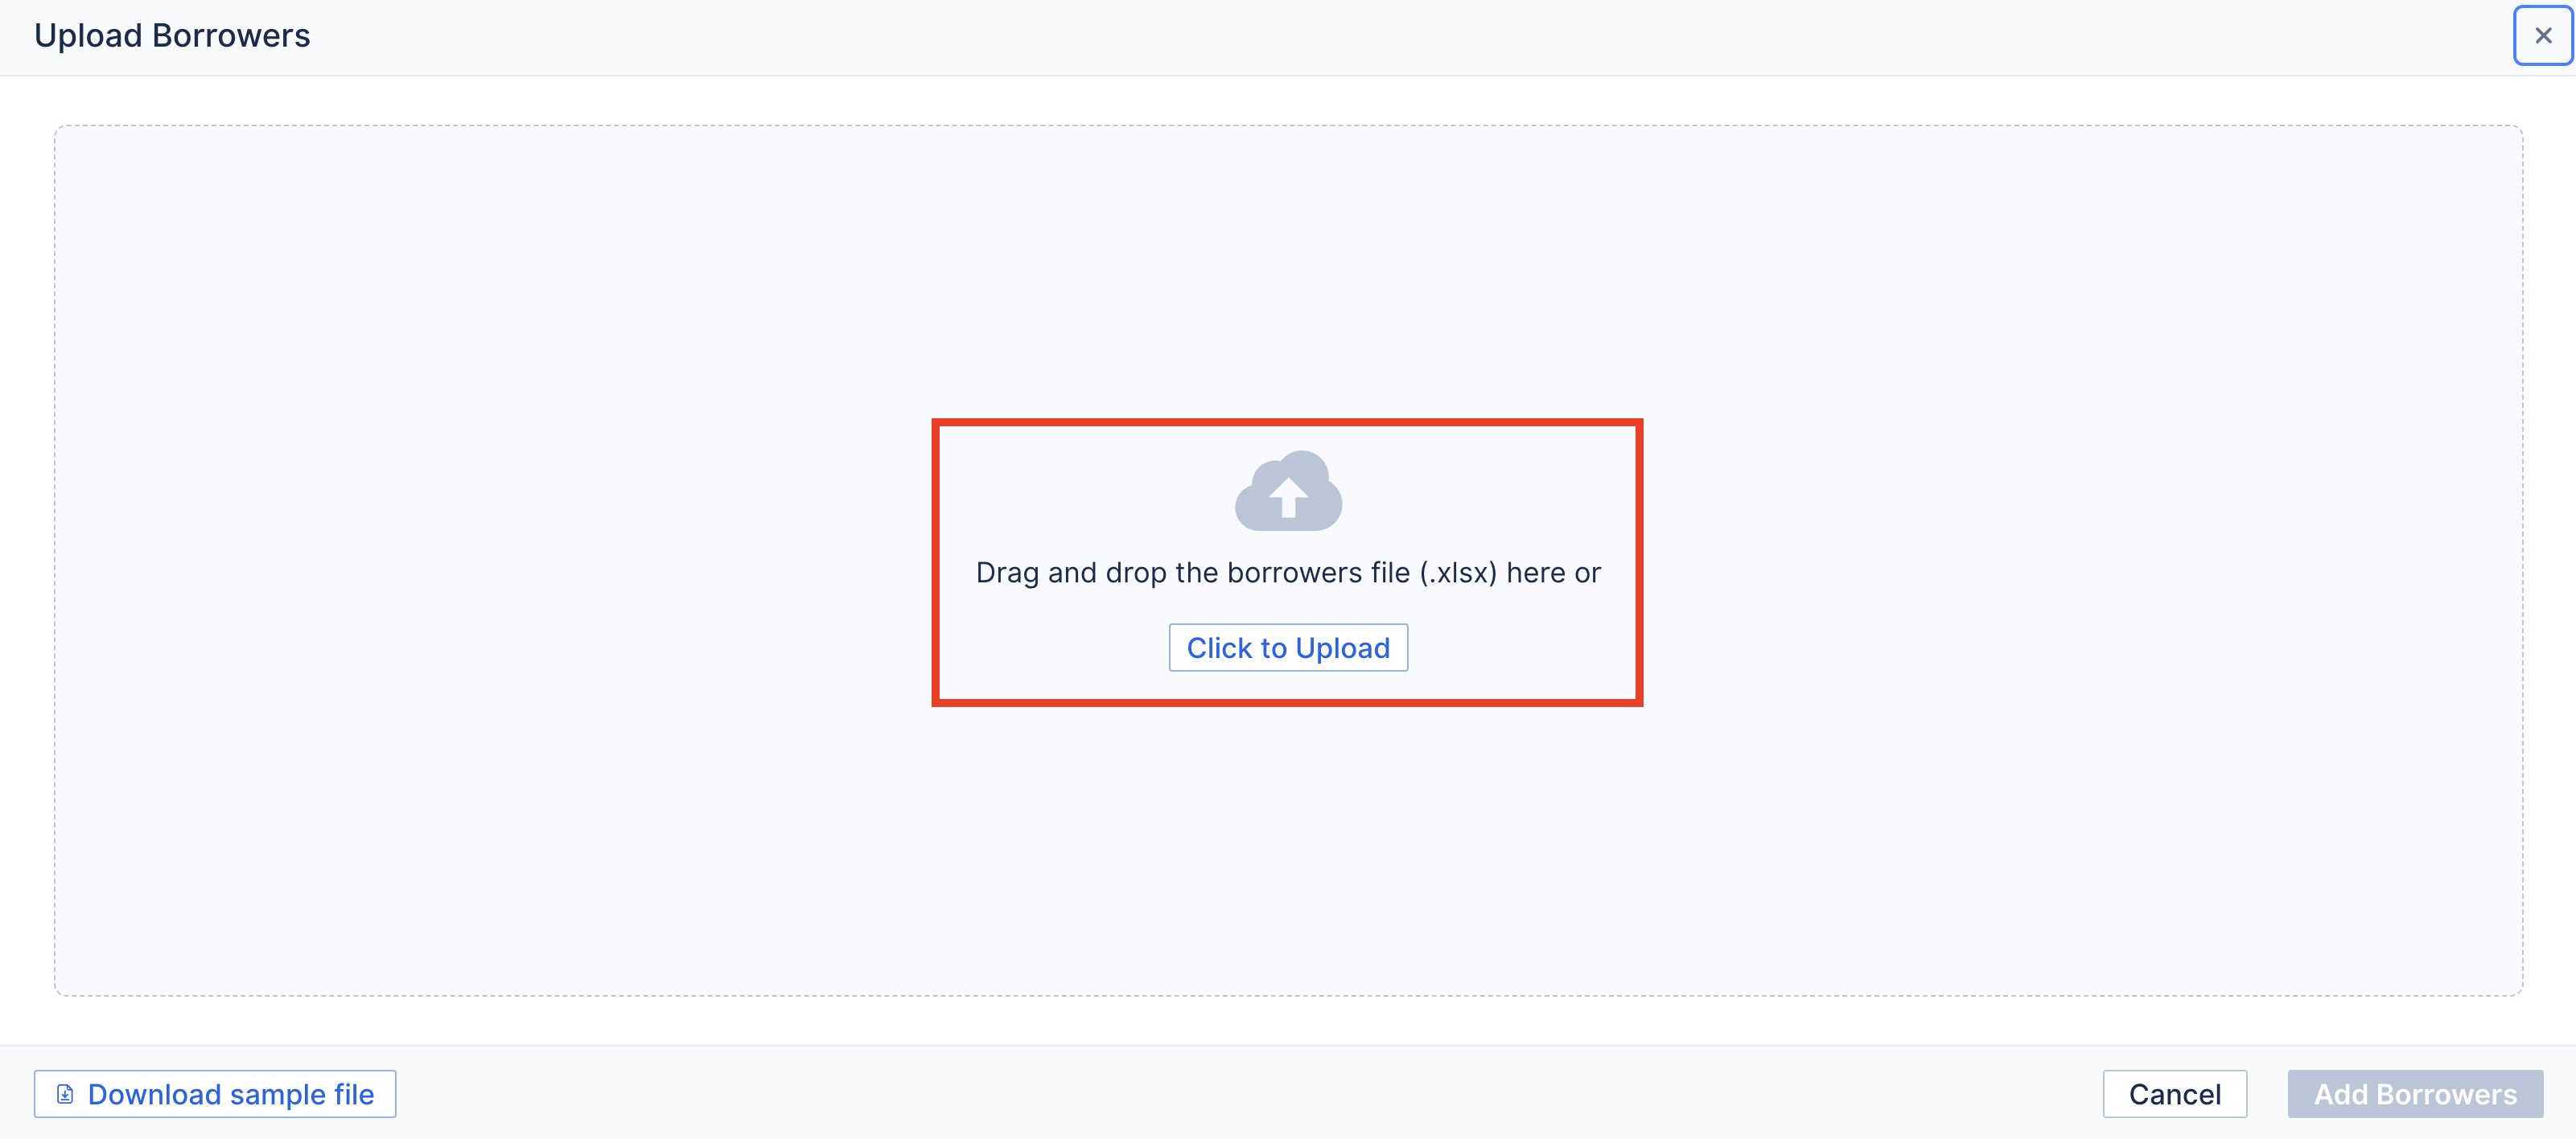
Step 3: Upload Your File

  1. Go to Contacts in the top navigation bar.
    ARIVE navigation bar showing Dashboard, Tasks, Loans, Leads, Pricing, Contacts, and Reports, with the Contacts tab outlined in red to indicate where to click.
  2. Choose Borrowers from the dropdown menu.
    ARIVE navigation bar with the Contacts tab expanded. Borrowers is highlighted in red under the dropdown options, indicating where to click to access borrower contact records.

  3. Go to the More button (...) in the top-right corner.
    ARIVE Borrowers page with the More button (three dots) in the top-right corner highlighted in red, showing where to click to access import options.

  4. Choose Import.

    ARIVE Borrowers page with the More button (three dots) in the top-right corner highlighted in red, showing where to click to access import options.

  5. Select Click to Upload your file (or drag your file into the window).
    ARIVE Upload Borrowers pop-up window showing a drag-and-drop area with an upload icon. Text reads ‘Drag and drop the borrowers file (.xlsx) here or Click to Upload.’ The Download sample file button is at the bottom-left corner, with Cancel and Add Borrowers buttons at the bottom-right.

  6. Check for errors:
    • ARIVE will flag rows with formatting or data issues.
    • Fix those in your spreadsheet, then re-upload.

  7. Click Add Contacts to finish.ARIVE Upload Borrowers confirmation screen showing that 1 borrower is imported. The borrower details include First Name Ron, Last Name TinTin, and email ron@tintin.com. The Add Borrowers button is highlighted in blue at the bottom-right, with Cancel and Download sample file buttons visible.


Quick Checklist Before Upload

  • I used BorrowerSample.xlsx as the template.
  • All required fields are filled (First Name, Last Name, Email).
  • Phone numbers are digits only (no spaces, dashes, or parentheses).
  • All emails are valid. (name@domain.com).
  • My file contains 1,000 contacts or fewer.
  • My file is saved as .xlsx.
  • If ARIVE show errors, I will fix and re-upload.