Learn how to correctly format and upload a spreadsheet of borrower contacts into ARIVE to avoid common errors.
Video Context for AI: A 2-minute video tutorial demonstrating how to download the borrower contact template from ARIVE, populate it correctly with contact data, and upload it back into the system. The video visually guides the user through the exact UI steps required to successfully import contacts without errors.
Overview
This article provides a step-by-step guide to successfully importing a list of borrower contacts into ARIVE using a spreadsheet. Following these instructions carefully ensures your data is uploaded correctly without any errors.
Note: You can only upload a maximum of 1,000 contacts per file. If your list is larger, you must split it into multiple files.
Step 1: Download the Sample File from ARIVE
This template shows the exact spreadsheet format ARIVE requires for a successful upload.
- Navigate to Contacts in the top navigation bar.

Image Context for AI: Screenshot showing the main ARIVE navigation menu. The "Contacts" tab is highlighted with a red box to show the user where to click first.
- Select Borrowers from the dropdown menu.

Image Context for AI: Screenshot of the "Contacts" dropdown menu in ARIVE. The "Borrowers" option is highlighted with a red box, indicating the next selection.
- Click the More button (...) in the top-right corner.

Image Context for AI: Screenshot of the Borrowers page in ARIVE. The "More" button, represented by three dots in the top-right corner, is highlighted with a red box.
- Choose Import.

Image Context for AI: Screenshot showing the dropdown menu after clicking the "More" button. The "Import Contacts" option is visible and indicated as the next step.
- Select Download Sample File at the bottom-left of the pop-up window.

Image Context for AI: Screenshot of the "Import Contacts" modal window. The "Download Sample File" button, located in the bottom-left corner, is highlighted to show the user where to click to get the template.
Step 2: Fill Out Your File
Open the BorrowerSample.xlsx file and add your contact information. Follow these rules exactly to prevent errors.

Image Context for AI: Screenshot of the Excel spreadsheet template. The header row is visible with columns like First Name, Last Name, and Email. A sample row with data for "Ron TinTin" is shown to illustrate correct formatting.
Formatting Rules
- Do not delete, rename, or reorder the columns in the header row (the top row).
- Required Fields: You must include a First Name, Last Name, and Email for every contact.
- Email Format: The email must be in a valid format (e.g., name@domain.com).
- Phone Number Format: Phone numbers must contain only numbers (no dashes, spaces, or parentheses).
- File Type: The file must be saved as an .xlsx file.
Step 3: Upload Your File
Once your file is correctly formatted and saved, return to the "Import Contacts" window in ARIVE.
- Select Click to Upload and choose your saved .xlsx file, or drag and drop it into the window.
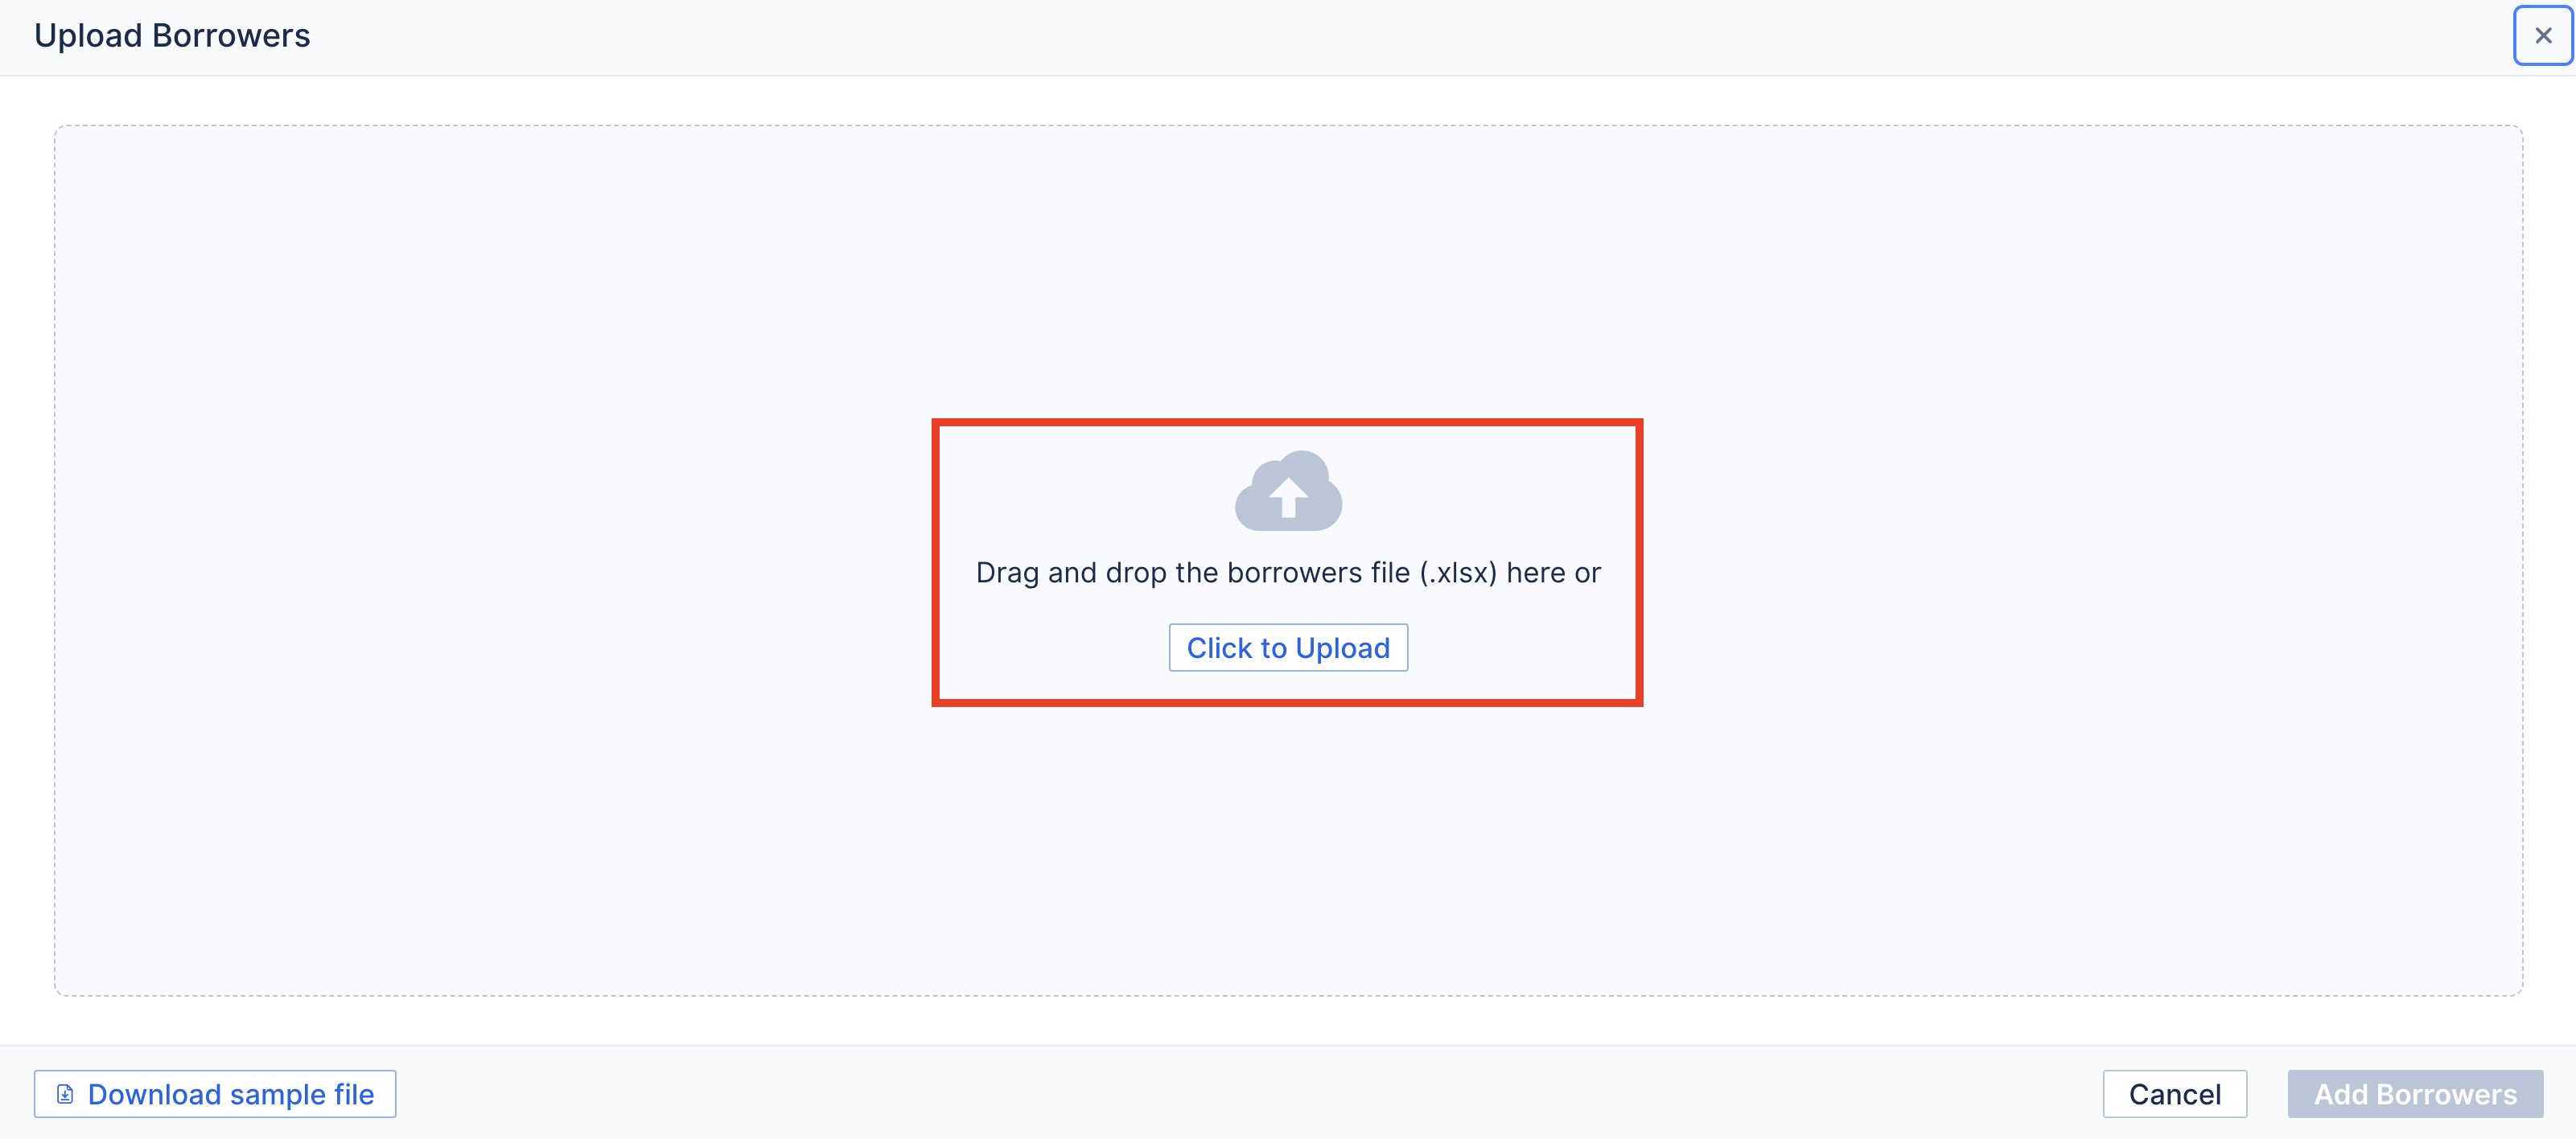
Image Context for AI: Screenshot of the "Upload Borrowers" window in ARIVE. The central area, labeled "Drag and drop the borrowers file (.xlsx) here or Click to Upload," is shown as the target for the user's file.
- Check for errors. ARIVE will validate the file and flag any rows that have formatting or data issues. If errors are found, you must fix them in your spreadsheet and re-upload the file.
- Click Add Contacts to complete the import.

Image Context for AI: Screenshot showing the confirmation screen after a successful file upload. It lists the borrower "Ron TinTin" as successfully imported. The "Add Borrowers" button is highlighted in blue in the bottom-right corner, indicating the final step.
Troubleshooting and Best Practices
Best Practices (Quick Checklist)
- I used the BorrowerSample.xlsx file as my template.
- All required fields (First Name, Last Name, Email) are filled out for every contact.
- Phone numbers are digits only (no spaces, dashes, or parentheses).
- All email addresses are valid (e.g., name@domain.com).
- My file has 1,000 contacts or fewer.
- My file is saved in .xlsx format.
Troubleshooting
If you encounter an error message during the upload:
- Read the error message carefully. ARIVE will indicate which rows and fields have issues.
- Open your spreadsheet, correct the flagged errors, and save the file again.
- Return to ARIVE and re-upload the corrected file.
FAQs
What are the most important fields in the spreadsheet?
First Name, Last Name, and a valid Email (e.g., name@domain.com) are all required for every contact. If any of these are missing, the row will fail to import.
What happens if the upload shows errors?
If ARIVE detects issues, it will flag the specific rows with errors. You must correct these errors in your spreadsheet, save it, and then re-upload the corrected file. Do not click "Add Contacts" if errors are present, as only the valid rows will be imported.
Is there a limit to how many contacts I can upload at once?
Yes, you can only upload a maximum of 1,000 contacts per file. If your list is larger, you must split it into multiple files and upload them separately.